
Here is the scene:
1. Your website is hosted by a shared hosting service provider and it is secured using Let's Encrypt SSL certificate. If so, in your hosting account's cpanel, you will find the certificate file named something like 'mysite_com_bcbcc_ababa_35354632535_0952294d3629s2993f6eb1.crt' somewhere in /ssl/certs directory and the corresponding key file named something like 'a1ca2_46e31_f26caefddd47399921ef6060c68a6a6e.key' somewhere in /ssl/key directory. (If you are hosting multiple sites in the same account, check the names of the files to indentify matching cert/key pair.)
2. You want to use the same certificate/key pair to secure your springboot application hosted under a subdomain (may be on the same or a different server, doesn't matter). For example, at myapp.mysite.com
3. You want your Flutter app to make REST API calls (using http or dio package) to your springboot application over SSL/HTTPS.
4. After following a few articles on how to achieve this, you hit a roadblock in the form of "CERTIFICATE_VERIFY_FAILED: unable to get local issuer certificate" error in your Flutter app. You may be tempted to use the solutions such as the ones described here: https://stackoverflow.com/questions/54285172/ that basically "accept all certificates". But they make your app less secure.
The right way is to fix your springboot app to use the SSL certificate correctly without touching the Flutter app. In fact, the Flutter app has no role to play here. The following are the steps that actually work:
- Download your crt and key file to your machine. Let's say you download it to c:\temp\sslstuff
- Download and save the chain cert of Let's Encrypt to the same directory. You can get it from https://letsencrypt.org/certificates/#intermediate-certificates
If you look in the "Let’s Encrypt R3" section, there is a "pem" link next to the "Signed by ISRG Root X1" option. That's the one you want.
- You can name all the files as follows: mysite_crt.pem, mysite_key.pem, and lets-encrypt-r3.pem
- Download, install, and run KeyStore Explorer from here: https://keystore-explorer.org/downloads.html
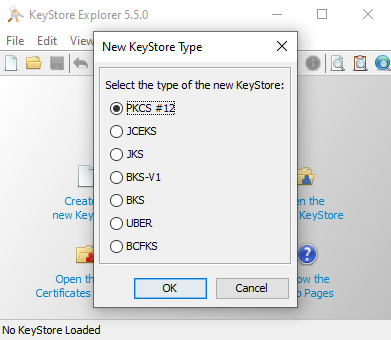
- Create a new PKCS #12 keystore using the File/New Menu.
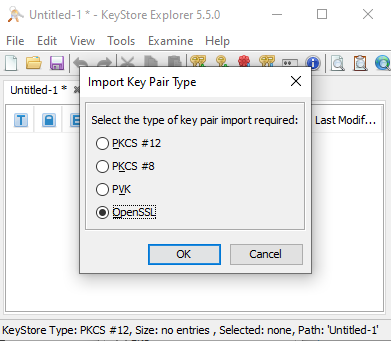
- Click Tool/Import Key Pair menu and select the OpenSSL option as the key type.
- Uncheck "Encrypted Private Key" check box and specify the path to your key and certificate files like this:

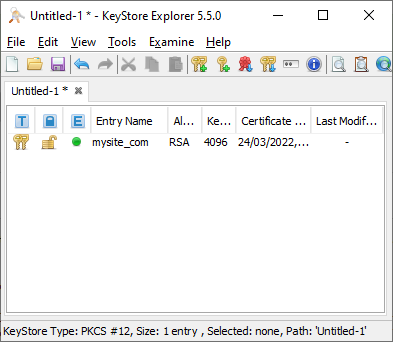
- You will be prompted to enter a "Key Pair Entry alias". You can enter "mysite_com" or whatever name you want. This is the name we will be using in SpringBoot app's config.
- Specify whatever password you like. This will be used in SpringBoot app's config file as well.
- You will get a message saying Key Pair import successful.
- Now, this is the most important step that takes care of the "Certificate Verify Failed" error in your flutter app. Select the key pair in KeyStore explorer, do a right click on it and select "Edit Certificate Chain"->"Append Certificate". Select the chaincert.pem file. This appends Let's Encrypts chain certificate to your site's certificate.

- Use File/Save menu to save the keystore. Save it as "PKCS #12 KeyStore type". Name it as "mysite_com.p12". You will be asked to create a keystore password for the keystore. Just use the same that you used above for the key. This will be used in SpringBoot app's config file as well.
That's it for the Key Store part. Now, over to the spring boot config.
- In your application.yml file, add the following:
server:
port : 6443 or whatever
http.port: 8080
ssl:
key-store: classpath:mysite_com.p12
key-store-password: yourpassword
keyStoreType: PKCS12
keyAlias: mysite_com
security:
require-ssl: true
- Put the mysite_com.p12 in /src/main/resources directory under your SpringBoot application's code folder.
-
Don't forget to add http.requiresChannel(channel -> channel.anyRequest().requiresSecure()) in your WebSecurityConfigurerAdapter.
That's it. Now, your Flutter app will be able to access your server over HTTPS without any issue.